|
By: Brandon Nguyen (Publicity Commissioner) If you didn’t know, your ESUHSD student account grants you access to many Adobe products. You can download and use these products for free by logging into Adobe Creative Cloud with your student email and password. This article will show you how to sign into Adobe Creative Cloud and start using these media creation tools! DISCLAIMER: This will only work on Windows and Mac computers/laptops. Step 1: Visit the Adobe Creative Cloud website: https://www.adobe.com/creativecloud.html  Step 2: Sign in with your student ID 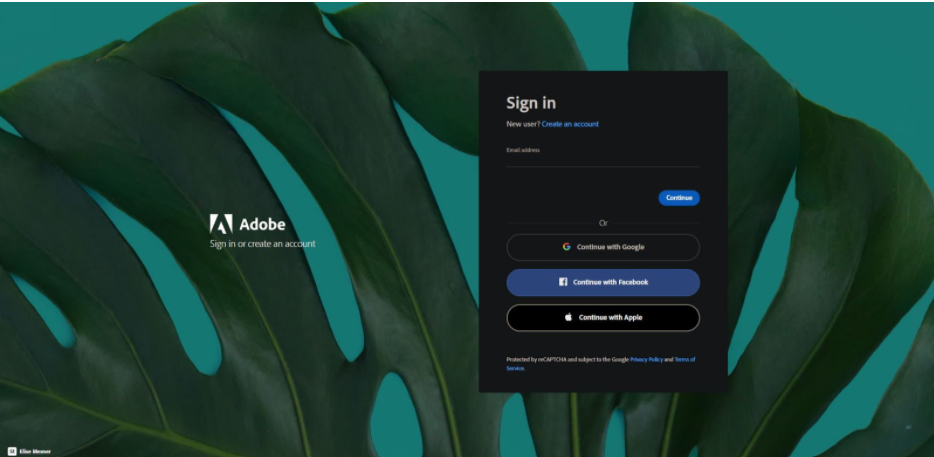 When you click on “sign in” on the home page, the site will direct you to a page that looks like this. Simply sign into Adobe using your school @students.esuhsd.org email and password. The page will send you to RapidIdentity where you need to sign in again, and then it will send you back to Adobe. At this point you should be signed into Adobe Creative Cloud. Step 3: Open Creative Cloud 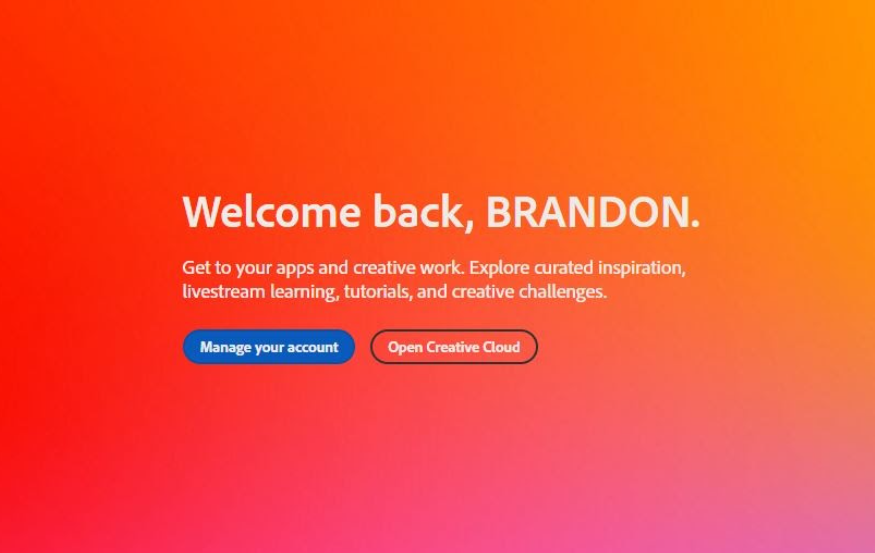 Once you’re signed in, click on the “Open Creative Cloud” button. It will take you to a page that looks like this: 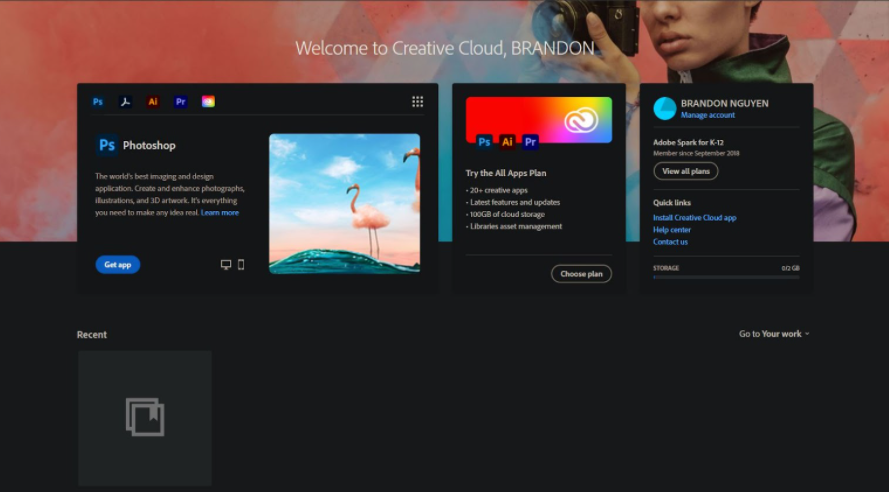 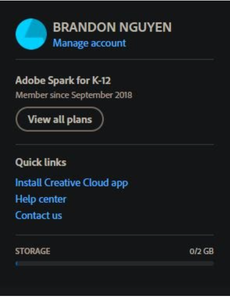 From here, navigate to the quick links area, where you can click on the “Install Creative Cloud app”. It will automatically download a Creative Cloud installer into your computer. Run the “Creative_Cloud_Set_Up” installer on your device and follow the instructions. Remember to sign in with your student email and password if it asks you to. Step 4: Have fun! There you go! You’ve installed Adobe Creative Cloud. By launching this application, it gives you a hub of multimedia tools that you can download and use. Please check out other articles on this page to learn more about using Photoshop! 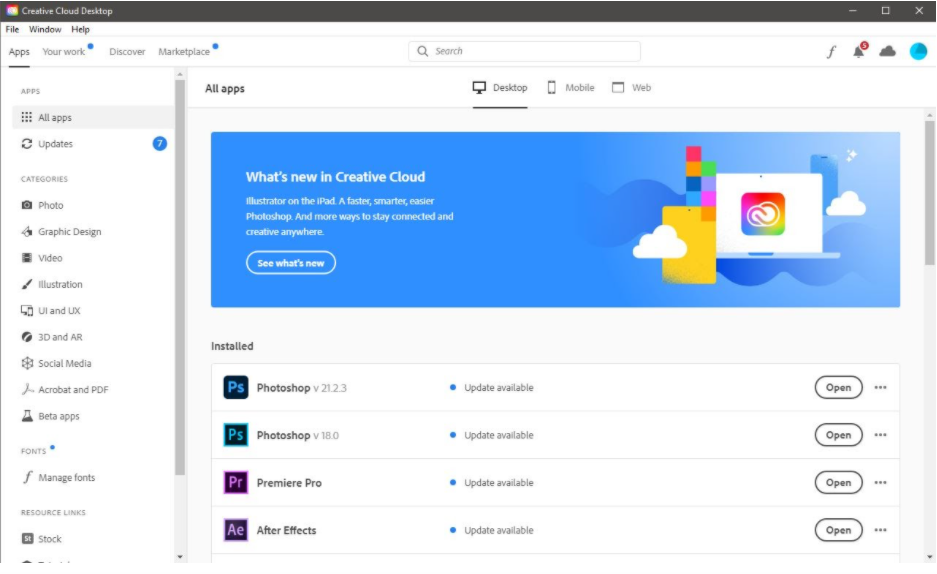
0 Comments
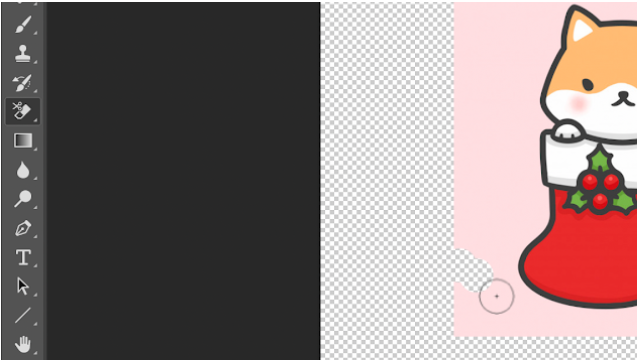
By: Tu Hoang (Publicity Commissioner) Happy December Raiders! When designing a flyer, it is important to ensure that your piece coordinates with the event in which it is advertising. Though there are many ways to cater your flyer to its occasion, the addition of PNG images are a great, yet simple, method to elevate your flyer’s appearance and complexity. PNGs, or Portable Network Graphics, is the only type of images that supports a transparent background, thus, is used to create logos and graphics by many web designers. Especially with the holidays approaching, PNG images can not only help reflect, but contribute to the festivity of this time of year! However, quality PNGs are often challenging to find online or require purchase. But no worries, learn through this article how you can make your own from (almost) any images through Photoshop! There are two methods, but we will first begin by creating a PNG file, which you can save for repeated usage. Creating a PNG File1. Begin by opening Photoshop and creating a new document of your desired dimensions. In the preset details, set the “Background Contents” to “Transparent.” 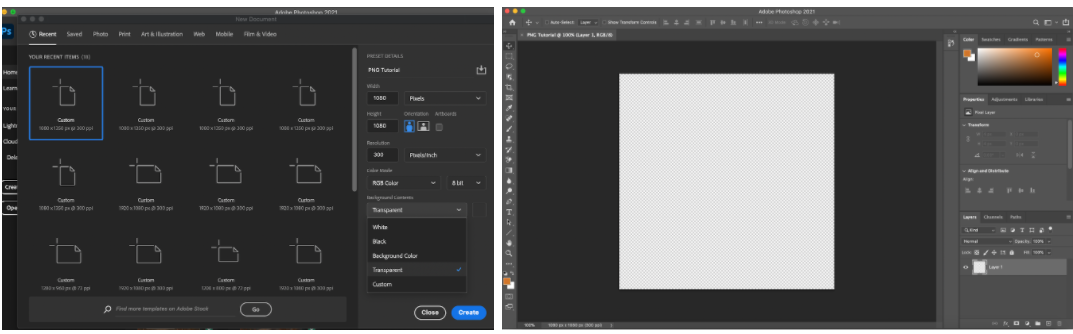 2. Then, search for an image of the object that you would like to convert into a PNG and upload it onto your document. This can be done simply by double-clicking and copying and pasting the image. 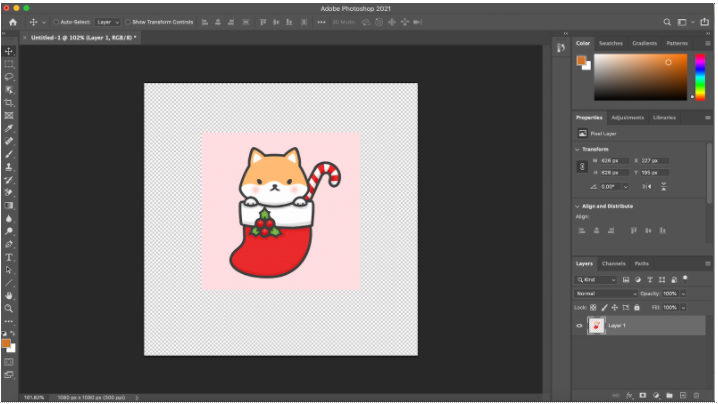 3. After the image is uploaded, erase the background or any unwanted elements surrounding your object using the eraser feature. When you double-click on the Eraser Tool icon, you will be given three options: Eraser, Background Eraser, and Magic Eraser. You can choose to complete this step using any of these options. a. Eraser Tool This is a manual eraser that allows you to freely erase any desired parts by dragging the tool on your image, similar to the Brush tool. You can select the size and opacity of your eraser by clicking on the icons on the top left corner of your workspace. This tool is best used to eliminate more meticulously-detailed objects. 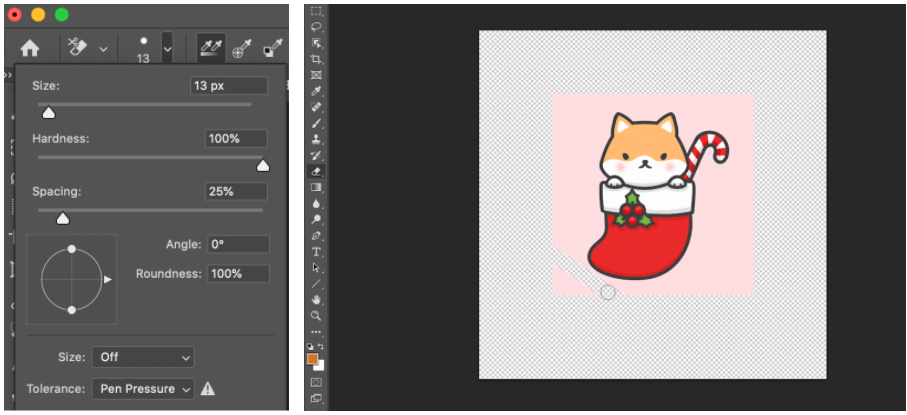 
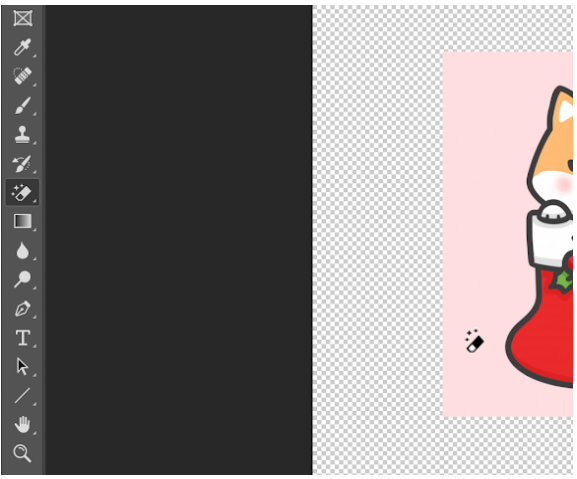
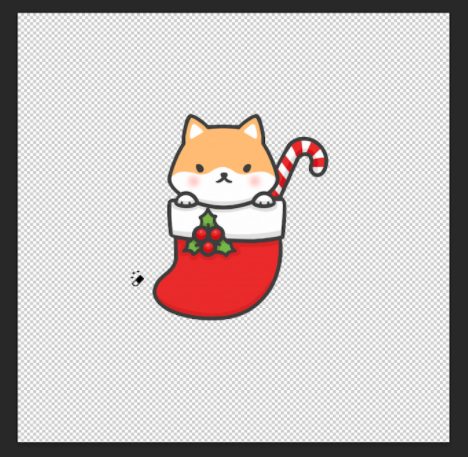
c. Magic Eraser Tool Different from both the Eraser and Background Eraser, this tool automatically selects and deletes pixels of the same color instantly as you click on your image. This tool is most effective for erasing backgrounds of a solid color, as that of the sample image. 4. When you have cleared the background, the final step is to export and save your PNG! On the application bar of your screen, select “File,” “Export,” then “Quick Export as PNG.” Name your file and save it to your desired location, ensuring that “.png” is included in your file. 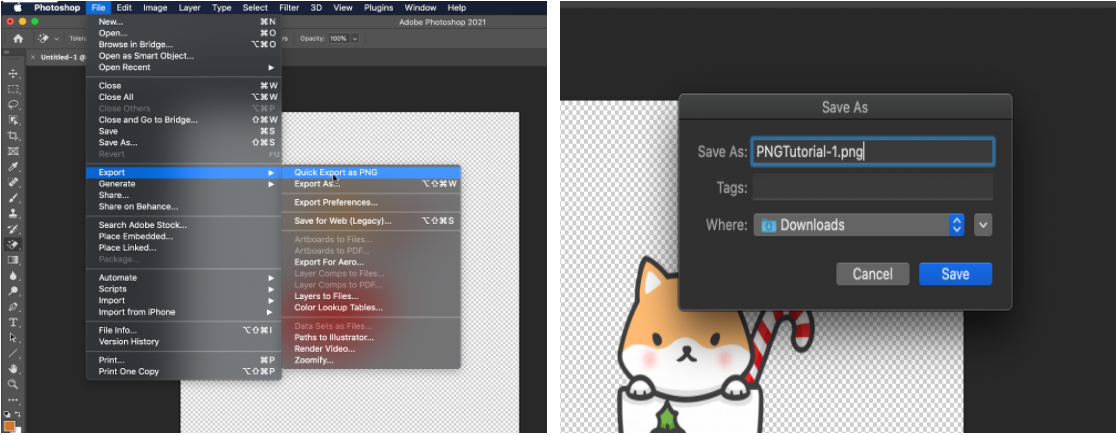 If you ever find yourself in a rush, the second method, creating an icon directly onto your flyer document offers a simpler, more efficient alternative to creating an authentic PNG file. While still enabling you to achieve the same look, this method does not permanently save the image as a PNG file and does not allow for repeated usage. Creating A Mock PNG 1. Begin by searching for an image you would like to convert into a PNG and upload it onto your document. 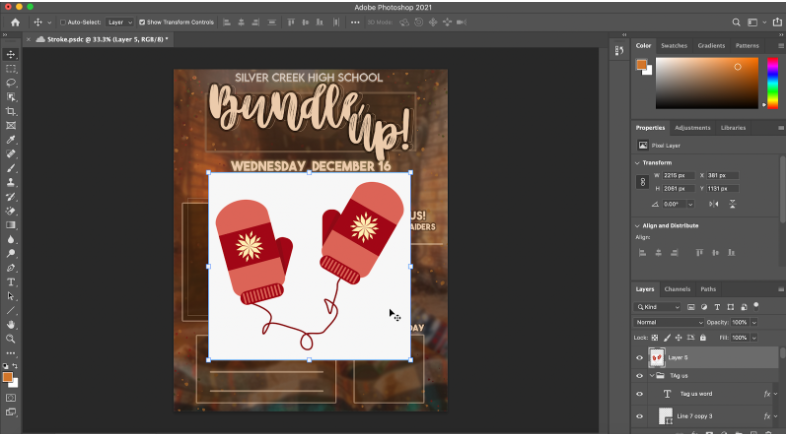 2. Using one of the three Eraser tools, eliminate the desired object from the background (in the sample, the Magic Eraser was used as the image had a solid color background). Because the Magic Eraser only deletes continuous segments of the same color, be sure to erase those separated as well. 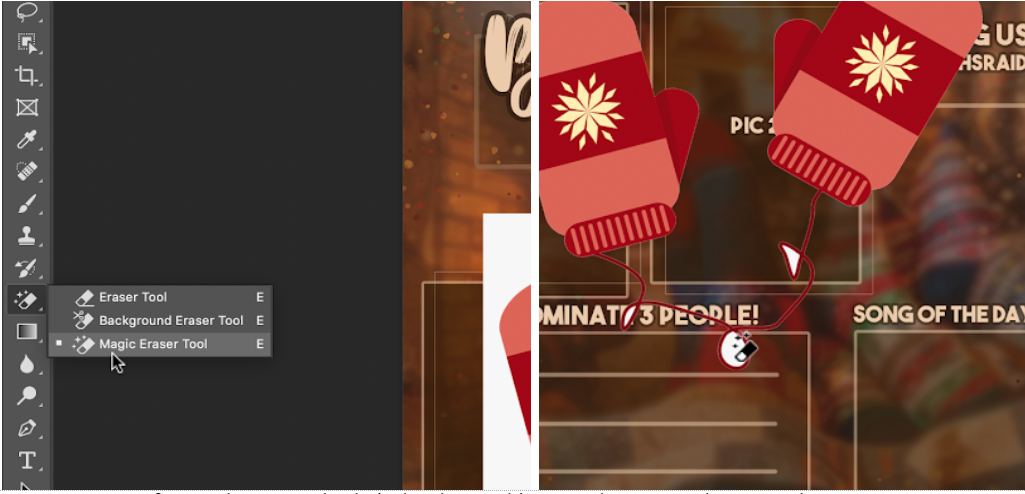 3. After you have completely isolated your object, you have created your mock PNG! Incorporate it into your design and you are finished!   |
AuthorPublicity Archives
December 2020
Categories |
 RSS Feed
