|
By: Brandon Nguyen (Publicity Commissioner) If you didn’t know, your ESUHSD student account grants you access to many Adobe products. You can download and use these products for free by logging into Adobe Creative Cloud with your student email and password. This article will show you how to sign into Adobe Creative Cloud and start using these media creation tools! DISCLAIMER: This will only work on Windows and Mac computers/laptops. Step 1: Visit the Adobe Creative Cloud website: https://www.adobe.com/creativecloud.html  Step 2: Sign in with your student ID 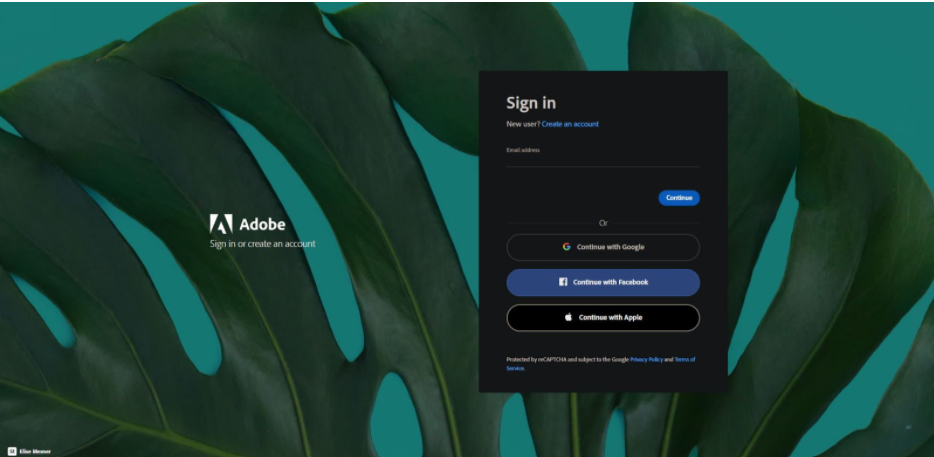 When you click on “sign in” on the home page, the site will direct you to a page that looks like this. Simply sign into Adobe using your school @students.esuhsd.org email and password. The page will send you to RapidIdentity where you need to sign in again, and then it will send you back to Adobe. At this point you should be signed into Adobe Creative Cloud. Step 3: Open Creative Cloud 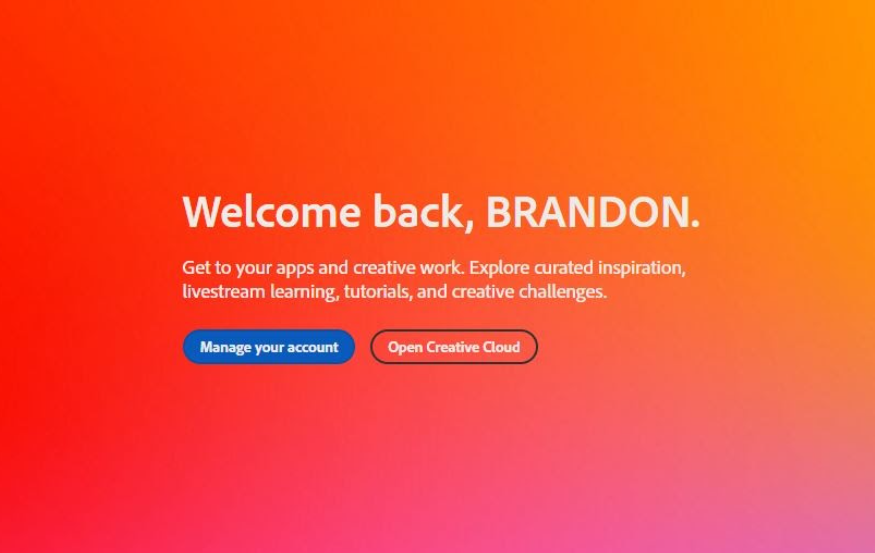 Once you’re signed in, click on the “Open Creative Cloud” button. It will take you to a page that looks like this: 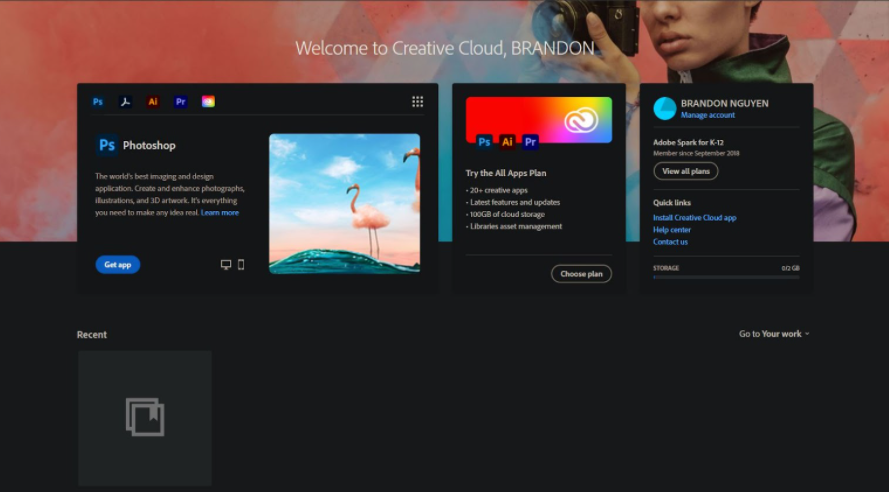 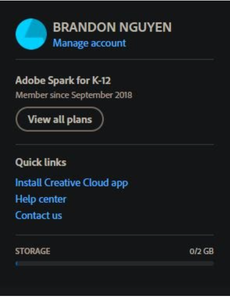 From here, navigate to the quick links area, where you can click on the “Install Creative Cloud app”. It will automatically download a Creative Cloud installer into your computer. Run the “Creative_Cloud_Set_Up” installer on your device and follow the instructions. Remember to sign in with your student email and password if it asks you to. Step 4: Have fun! There you go! You’ve installed Adobe Creative Cloud. By launching this application, it gives you a hub of multimedia tools that you can download and use. Please check out other articles on this page to learn more about using Photoshop! 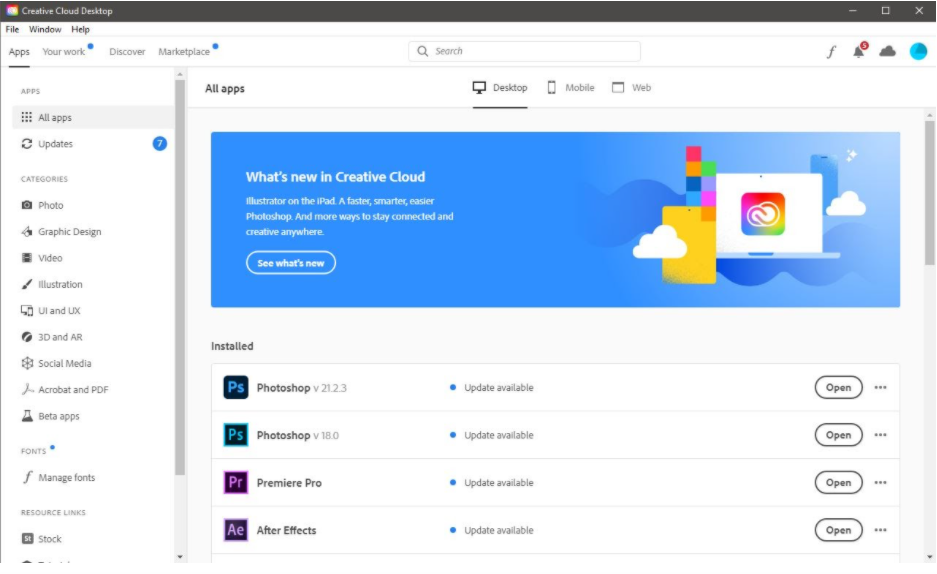
0 Comments
Leave a Reply. |
AuthorPublicity Archives
December 2020
Categories |
 RSS Feed
